Setting up a website registration
In Indicia, in order for an online recording survey form to exist you first need to create an entity to have ownership of that survey and associated information. This allows the warehouse to manage who has permission to change this information, for example, you would not want the administrator of a dragonfly recording website to change the attributes that were created and are owned by a plant recording website. Because this division of ownership is normally done at the client website level (i.e. each online recording website has ownership of the attributes, termlists and custom attributes created specifically for it) we call the entity which the ownership is associated with a “website” for simplicity, even if this is not always accurate.
Before you can store any data in an Indicia warehouse, you need to register your website with the warehouse so that the warehouse can ensure that your data is only accessible to your website. Other websites which are registered on the same warehouse will only be able to access their own records.
Note
If you do not have access to the admin login for the warehouse you are using, you will need to ask the administrator of the warehouse to create your website registration for you. Please provide them with your website title, URL, an optional description and a secure password as well as your email address. Once setup, they will provide you with a website ID which you need to keep for future use along with the password. They can also provide you with a username and password which you can use to login to the warehouse in future with access to just your own data. Once logged in, please change your password to a secure password.
If you are going to register the website on the warehouse yourself, then please follow these steps.
Using your web browser, navigate to the web address of the Indicia warehouse. The address will either have been provided for you or will be the address you installed it at if you installed it yourself. This will present you with a login page:
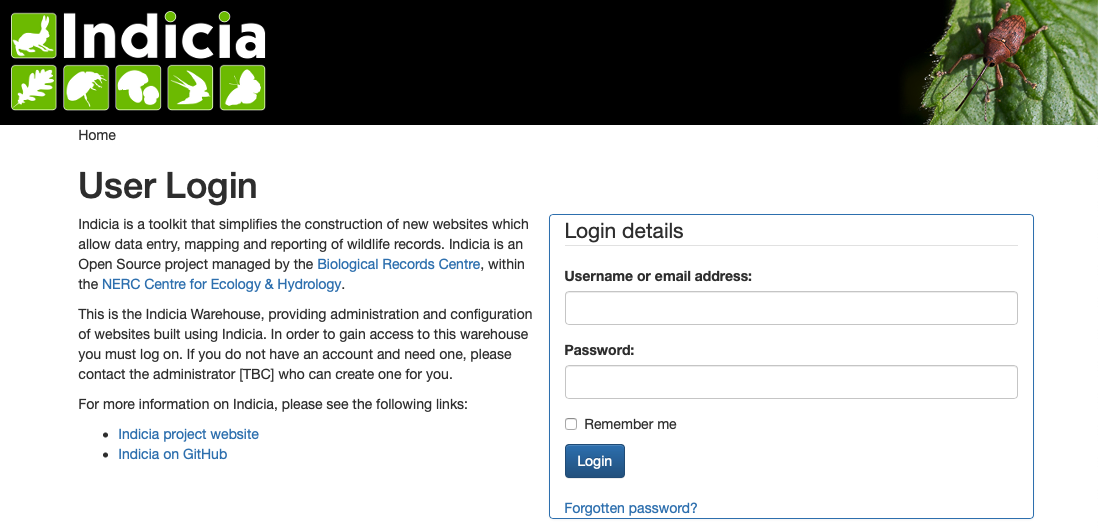
Login to the Indicia warehouse using the admin warehouse login. You will either have created this login when you installed the warehouse, or it should have been provided for you.
Note
You may see some information under a heading Server Status or Configuration on the warehouse home page. These warnings are important on a live server as they indicate parts of the installation that should be completed or other processes that need attention, but if the server is for training or development only it is safe to ignore certain warnings (e.g. about setting the server up for email and also locking down permissions on certain directories to improve security).
Select Admin > Websites from the menu at the top. This will show you a grid listing websites already available on the warehouse. Immediately after installation this typically shows a single website called Demonstration Website.
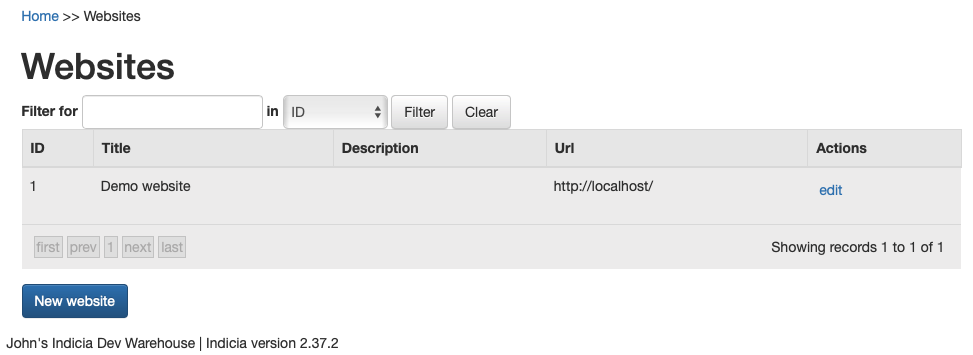
Click the New website button.
Enter the title of your website, e.g. “Tutorial”.
Fill in the URL of the website you will be setting up, e.g. http://www.mytutorial.com. Note that this is just a link to the website for reference purposes. You can optionally provide a description for the website. Specify a password which will be used to authenticate that data posted to the server actually came from your website, and enter it again in the Retype Password box to confirm it. If you are registering a website for live data as opposed to one for testing or development purposes, please ensure that this password is strong (e.g. it includes punctuation, capitals and numbers rather than being a word which can be easily looked up in a dictionary scan).
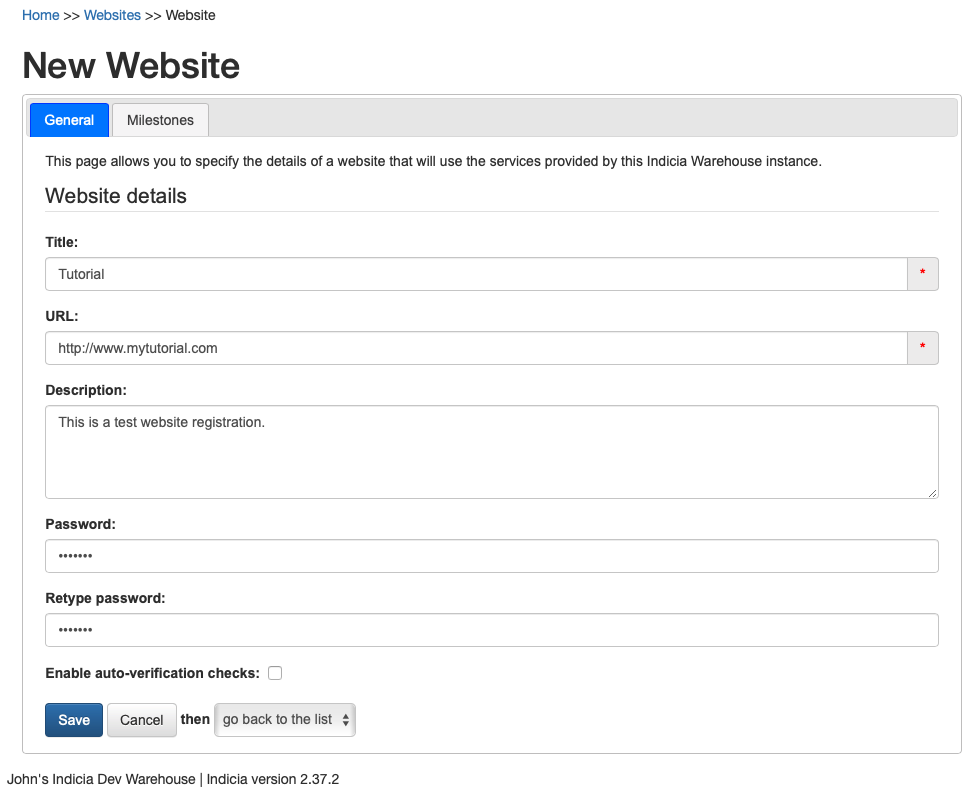
The Enable auto-verification checks checkbox allows you to turn on automatic rule checks to assist experts when verifying data. You will only need to tick this option when you get round to configuring the Data Cleaner module.
Click the Save button.
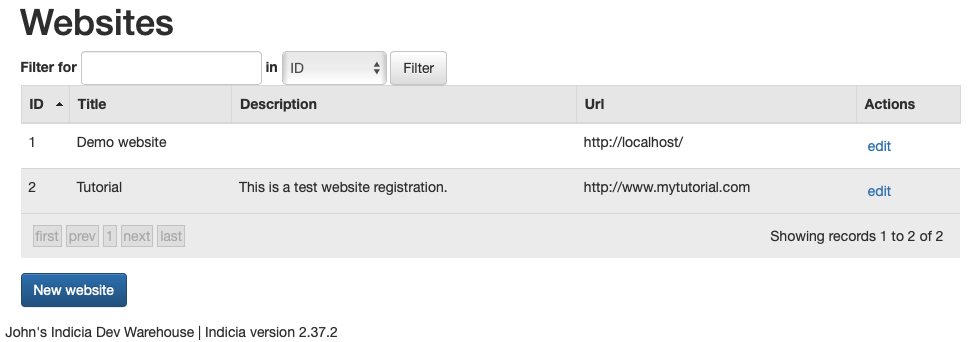
The website registration you have just created has been given a website ID which uniquely identifies the website to the warehouse. This, along with the password you entered, are important pieces of information that you will need when setting up your online recording. At the back of this tutorial there is a space you can use to keep a note of the website ID and password. The new website registration’s website ID is visible in the grid in the leftmost column.
Now that you have registered the website, it is a good idea to avoid logging into the warehouse in future using the admin account, since this account can change any data for any website registered on the warehouse. The Indicia warehouse maintains a list of people known to it. People can include anyone associated with the data, e.g. recorders, determiners or anyone else. There is also a list of users which are people that can log in to the warehouse. Every user must exist in the list of people, but not every person exists in the list of users. So, to be able to log in to the warehouse you have to exist as a person first, then to be added to the list of users.
If you don’t already have a separate warehouse login of your own, then follow these steps to create a user on the warehouse:
Select Lookup Lists > People from the menu.
Click the New Person button.
Enter the details of the person who will act as the administrator of the website you are building, including at least their first name, surname and email address. Other fields are optional.
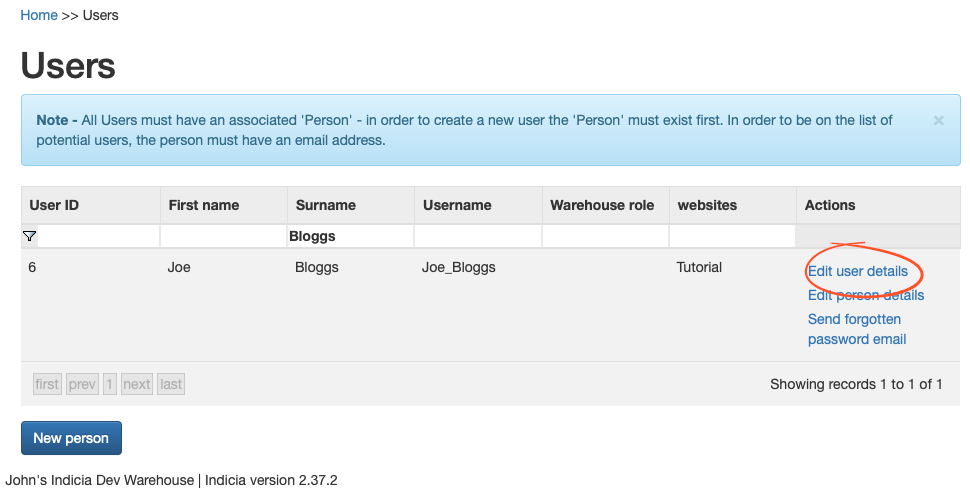
In Indicia, a person can be added to the list of known people without actually making them into a user who can login to the warehouse. For example the person might be a recorder who you accept records from but does not use Indicia. To convert the person record you have created into a user of the warehouse, select Admin > Users from the menu.
Find the person record you just created then click Edit user details in that row. You can type text to search for into the filter row at the top of the grid then press Tab to apply the filter - useful when there are lots of people to search through.
In the User’s Details, note the Username that has been generated or change it if required.
Indicia will fill in a suggested password for all new users of “P4ssw0rd”, but rather than use this default it is a good idea to specify your own. Enter a password for the user in the Password control and confirm it in the Repeat Password control.
In the Website Roles list, select Admin in the drop down box next to the name of the Website you created (e.g. “Tutorial”):

Save the page.
You will need to remember the username and password for the warehouse login you just created.
If you need to add an existing user to the website you have registered, then you can select Admin > Users from the menu and click the Edit user details link in that row, then simply modify the Website Roles section as before and click Save.
Finally, select Logged in as admin > Logout from the menu to take you back to the login page.