Setting up the Enter a single record or list of records (customisable) form
Creating a survey
The “Enter a single record or list of records (customisable)” form gives us a whole bunch of configuration possibilities and is the most flexible way of creating recording forms in Drupal with Indicia. Before we add the form, let’s visit the warehouse and create a survey to capture our records if you haven’t already created one for this purpose. Here’s a brief refresher on how to do this:
Log into the warehouse with at least admin rights to the website registration you are using.
Go to Observations data > Survey datasets on the menu.
Click the New Survey dataset button.
Fill in the Title, for example “General Records”.
Fill in a survey description, then set the Website to the one you are using.
Click Save.
See Survey datasets for more info.
Adding a data entry form
Now, log into your Drupal website if you are not already logged in. Let’s add a form. Adding an Indicia page to Drupal using the IForm module is just like adding any other Drupal content, except Indicia pages generally have quite a few configuration options for you to tweak the page’s behaviour.
On the admin toolbar, select Content, then click Add content, then Indicia page.
Set the Title to “Enter a list of records”.
If you require introductory text at the top of the page then you can enter it in the Page introductory text box. Otherwise expand the Menu settings section and tick Add a menu link so that the page will appear on the menu with the same menu title as the actual page title.
Now scroll down to the Form Selection box on the form and click to expand it. This is where all the Indicia goodness begins as it allows us to pick from one of a library of ready made pieces of functionality, called prebuilt forms. We want a general purpose way of inputting records, so as good a place to start as any is to set Select page category to “Data entry forms” and Page type to “Enter single record or list of records (customisable)”, that is, a form designed for inputting a single sample, containing a list of any number of occurrence records.
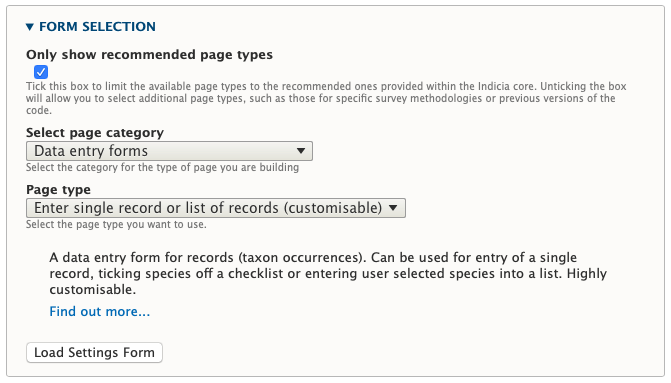
Tip
The Enter single record or list of records (customisable) form is one of several Indicia forms that are described as dynamic. This means that they are highly configurable and can automatically add controls to the input form to reflect the custom attributes you have attached to your survey.
Once you have selected the correct form, click the Load settings form button to send a request to the server for the configuration required to set this type of form up. The additional configuration options will appear on the page below the button. These are grouped into sections in boxes which you can expand by clicking on the title of the box. We’ll start by doing the minimum required to get our form running:
In the Other IForm Parameters section, select the Survey dataset you plan to submit records to.
In the Base Map Layers section, tick the OpenStreetMap layer.
In the Species section, set the Extra Species List to the species list you are recording against.
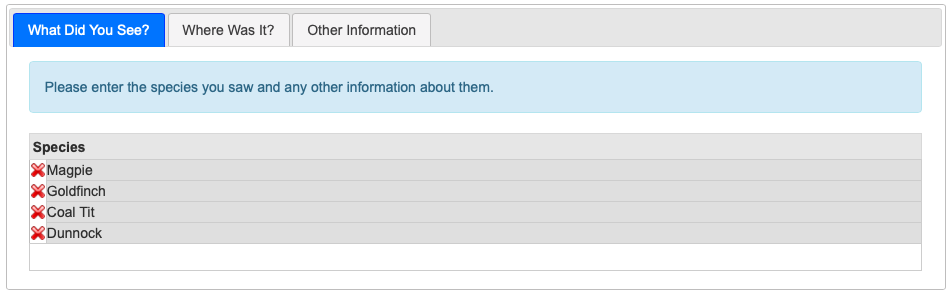
Now, save the form. You should have a pretty simple tabbed form letting you input a list of species on the first tab:
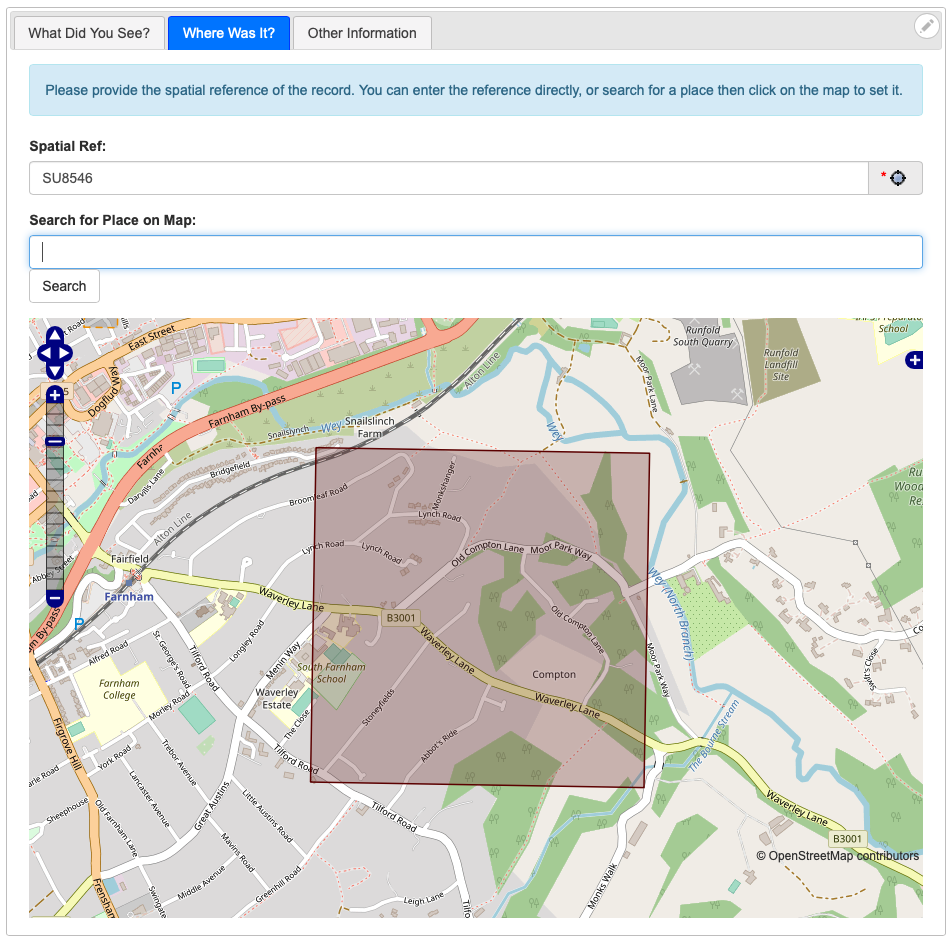
You can pick a grid ref on the second tab…
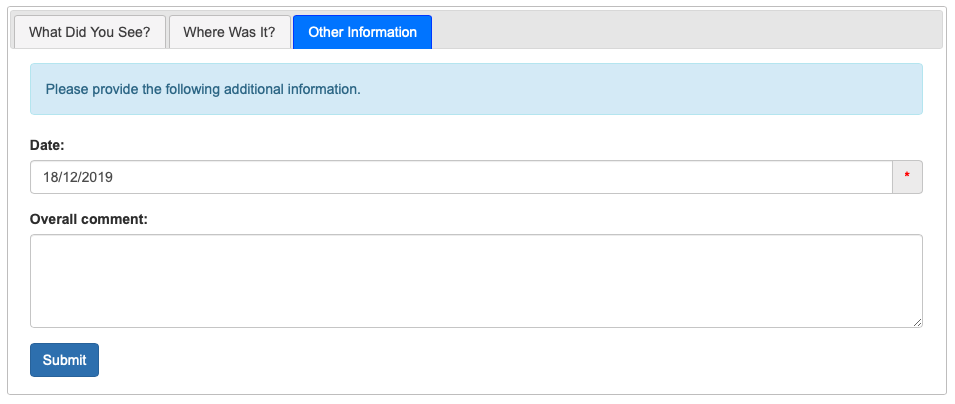
… and input the date and comment on the third tab:
Basic Form configuration
There are a huge number of configuration options for the Enter a single record or list of records (customisable) form and they are all described in the hints below each option in the edit form. Rather than go through them all, in this tutorial we’ll take a look at a few useful options to get a feel for the configuration process.
At the top of the page, you should see a View tab and an Edit tab. Drupal adds these to the page automatically if your user account has permissions to edit the current page, so your recorders will not normally see the tabs. Click the Edit tab then find and expand the Species section of the configuration form. Set the following options:
User can filter the Extra Species List - tick this option to enable a filter button in the column header of the species grid. This allows the user to control the species which are available in the search when adding records to the input grid. For example, they might want to search within a specific taxon group, or to only search the taxon groups they have set in their recording preferences.
Include both names in species controls and added rows - this option enables the display of the common name when picking a latin name, or the latin name when picking a common name. Along with the following option, it is a useful tool to preventing problems with ambiguous species names.
Include taxon group name in species autocomplete and added rows - this option displays the taxon group name when picking a species, further helping to clarify any species name ambiguity. When you are creating a form for inputting records in a single species group, you may as well disable this option.
Occurrence Images - tick this box to allow photos to be uploaded.
Once you’ve applied these settings, save the form. The changes you’ve applied can all be found on the first tab, in particular note how the name “Magpie” is no longer ambiguous:
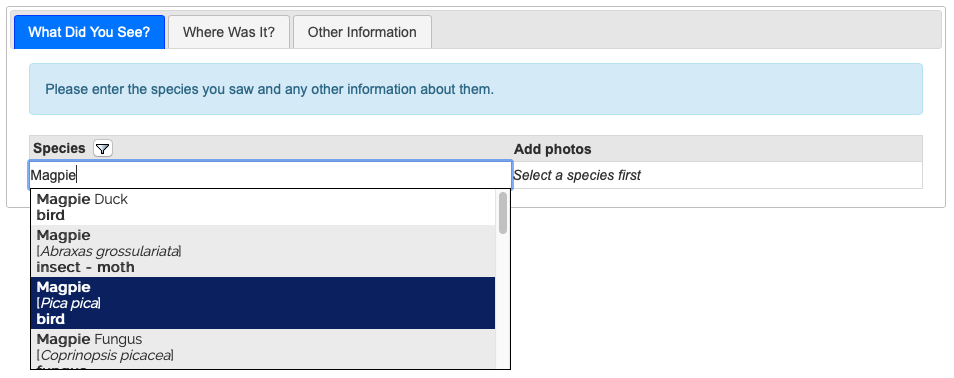
Also, note the new filter button in the header of the species column, plus the fact that once we have input a species name we can upload photos to go with the record. The options we’ve looked at so far only scratch the surface of what can be done, but even so, are limited to the configuration options that the programmer of this prebuilt form envisaged would be useful. In the next section we’ll take a look at the most powerful of all the options available, the Form structure which provides deep configuration possibilities even the programmer did not envisage.